![derivita-logowhite (2).png]](https://support.derivita.com/hs-fs/hubfs/derivita-logowhite%20(2).png?height=25&name=derivita-logowhite%20(2).png)
For the PowerSchool administrator setting up rostering to Derivita. This is the secure, nightly CSV-over-SFTP method using PowerSchool's Data Export Manager (DEM). It sends the same roster data as the API method — schools, staff, sections, and guardians — a different way. It does not use the PowerSchool API or OAuth credentials.
Plan on about 20–30 minutes. You'll create an SFTP connection, install a small district-owned plugin that adds the rostering queries, build one export template per query, and schedule them to run nightly.
Before you start- PowerSchool version 20.11 or higher. Check the version on your PowerSchool login screen.
- The rostering plugin (
ps_rostering_queries.zip) and your SFTP credentials — both come from the secure Derivita setup page where you selected the PowerSchool Data Export Manager method. On that page, click Generate Password and save the Host, Username, Port, and Password before you leave — the password is shown only once. - PowerSchool admin access to System Management and Data Export Manager.
The plugin is yours to control. It exists only to create the export queries quickly, so you don't have to hand-build them. You can modify, add, or remove queries as long as they still run and still return all the required rostering fields.0. Create the SFTP connection
Skip this section if SFTP is already set up in your PowerSchool instance.
- Go to System Management → Server → Plugin Configuration.
- Find Remote Connection Manager and click its name.
- On the setup page, click the Remote Connection Manager link.
- Click Create Connection, name it, and enter the Host, Username, and Password you generated on the Derivita setup page. Check Allows upload, then click Submit.
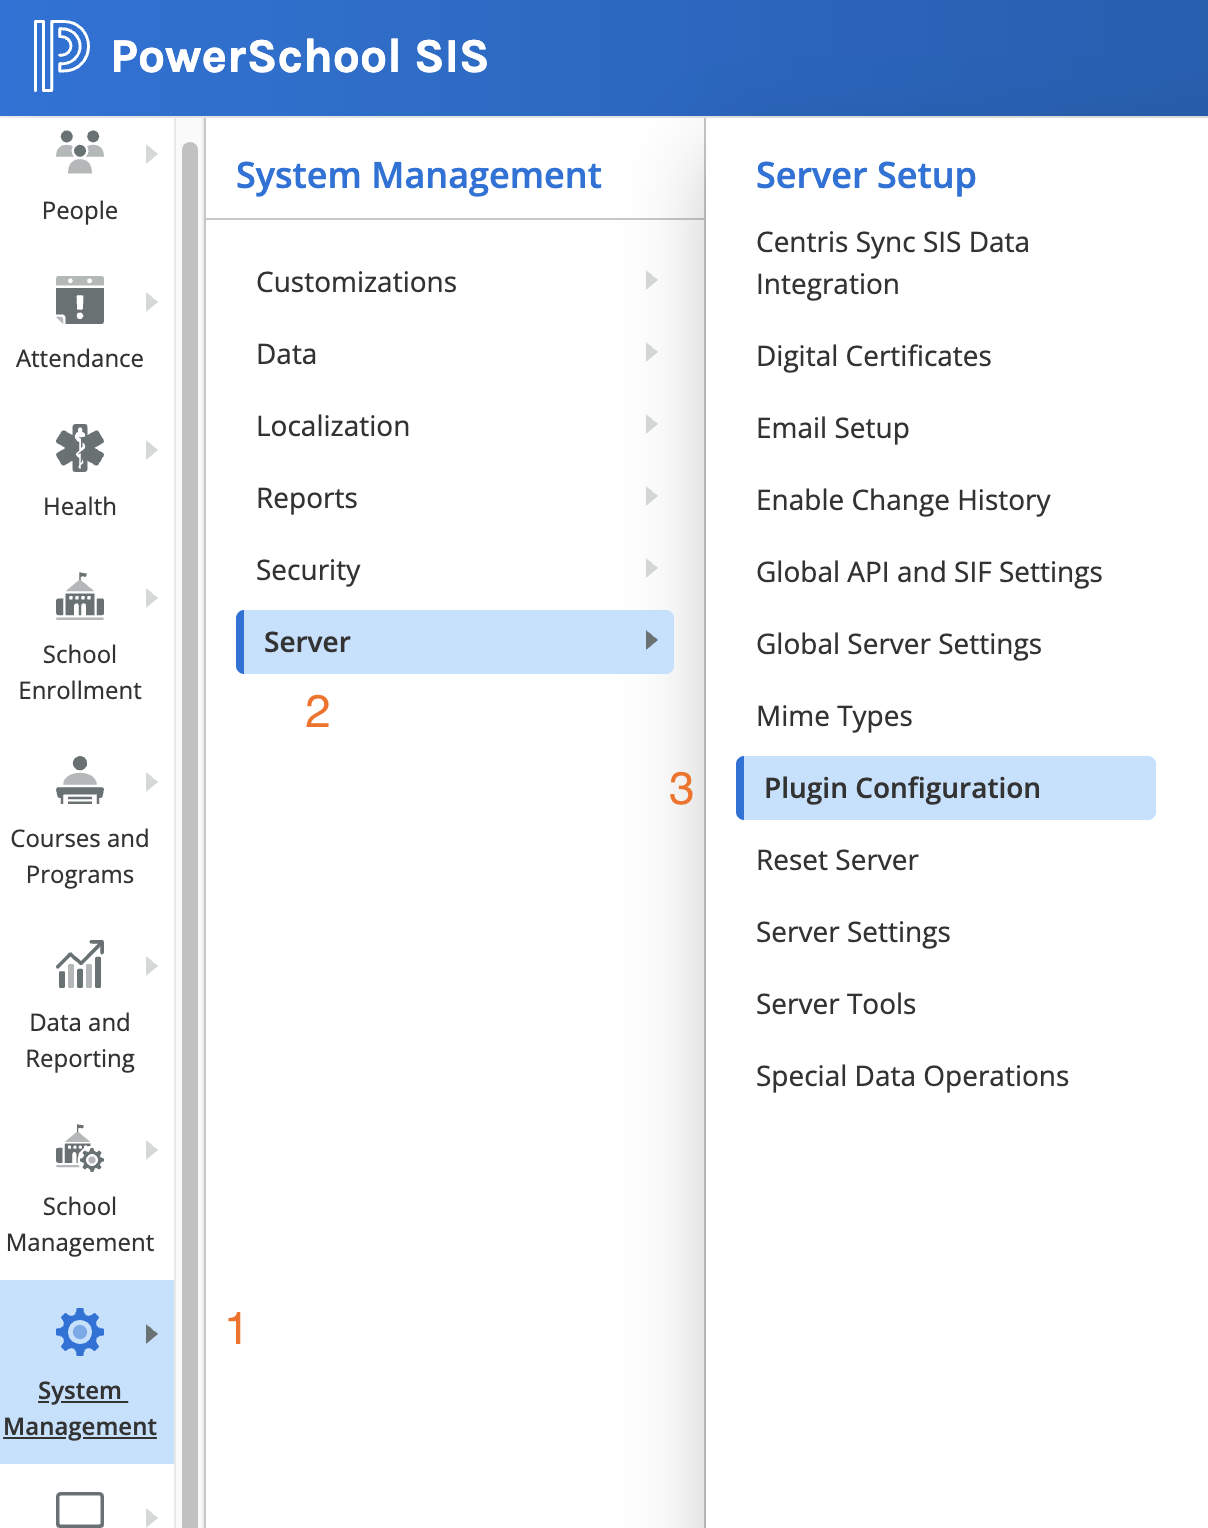 Step 1 — System Management → Server → Plugin Configuration in PowerSchool SIS
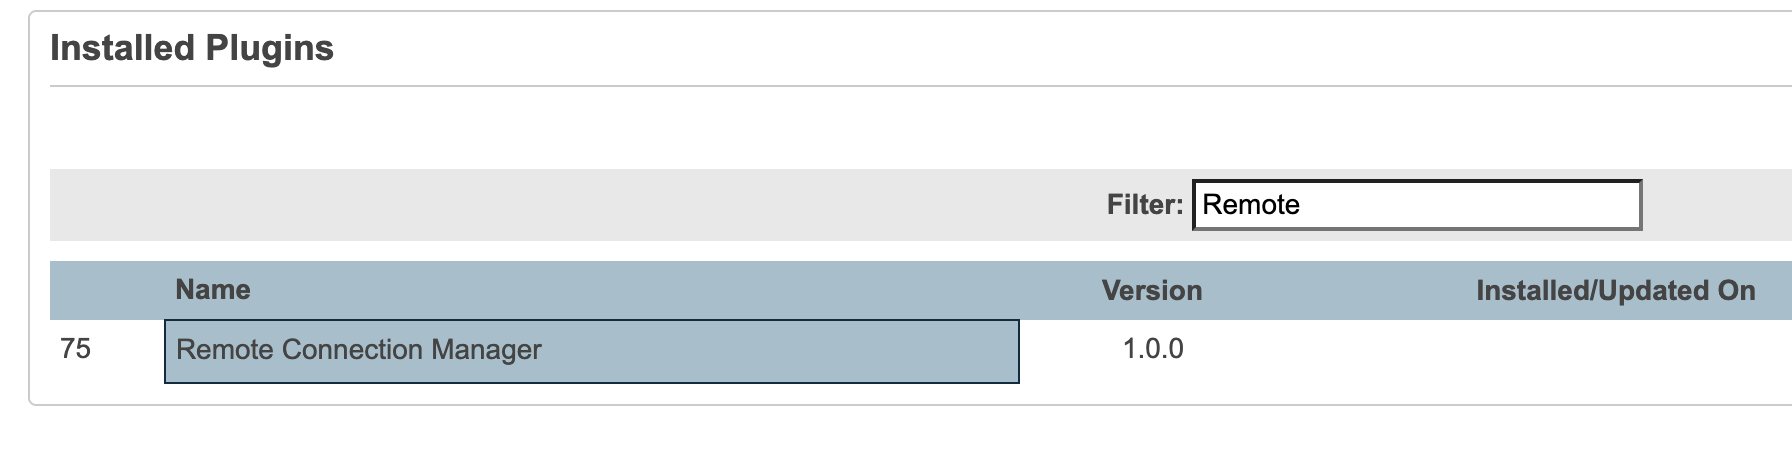 Step 2 — the Remote Connection Manager plugin in the Installed Plugins list
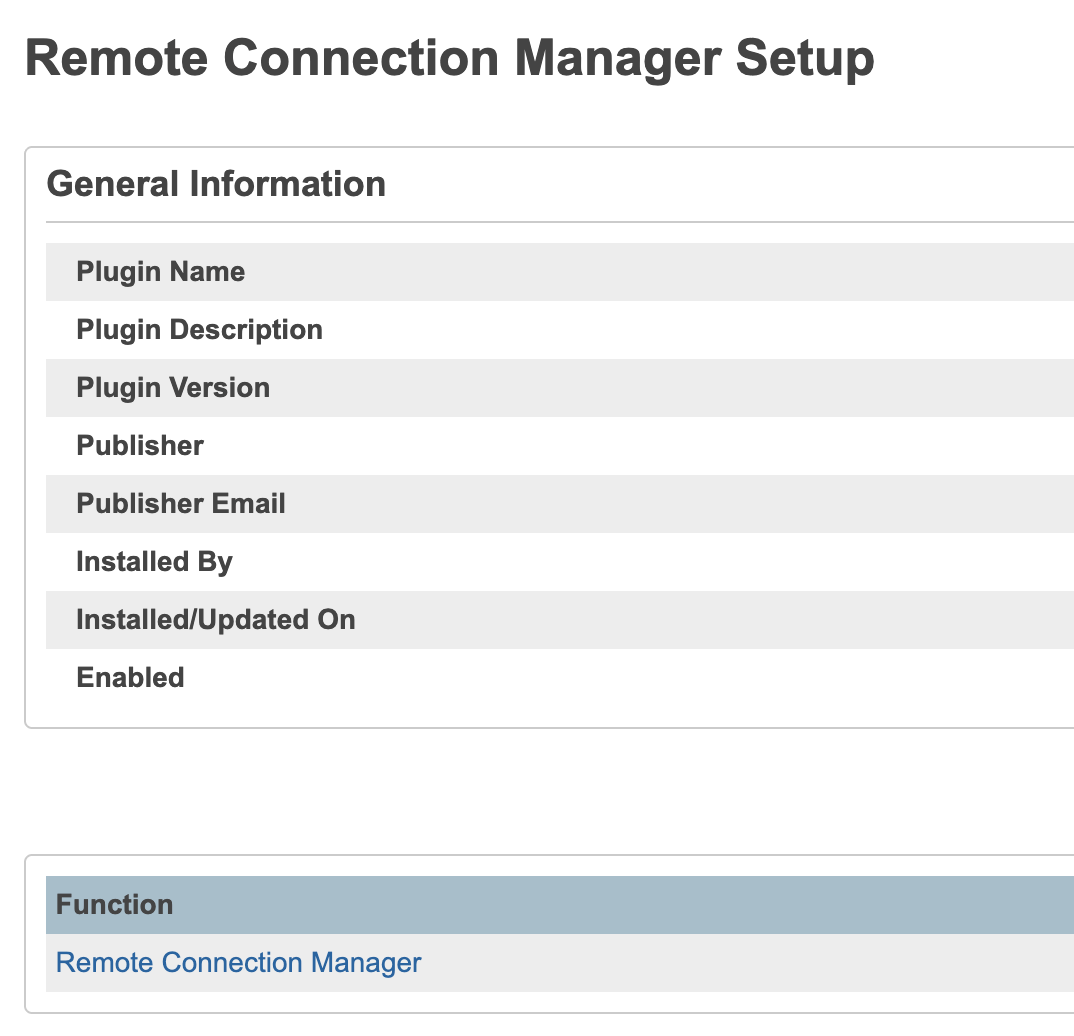 Step 3 — the Remote Connection Manager Setup page
- Return to System Management → Server → Plugin Configuration.
- Click Install, browse to
ps_rostering_queries.zip(from the secure setup page), and click Submit. - Find the newly installed plugin — it's named after your district, so search for your district name. Enable it with the checkbox to the right of its name.
- When prompted, approve data access for the requested tables and fields — click Enable.
Nothing is available to Data Export Manager until the plugin is enabled and its data access is approved.
 Step 2 — the Install button on the Plugin Configuration page
Do this once per query. Each template takes about two minutes.
- Go to Data and Reporting → Exports → Data Export Manager (the exact path varies slightly by PowerSchool version).
- Set your school and term context. Use District Office for district-wide exports; a query that filters on the current school returns only that school's rows.
- In Category, choose Additional Data Sets. In Export From, start typing NQ and pick one of the installed queries — they begin with
NQ - com.ps_rostering(schools, staff, sections, guardians). - In the field list, click the top checkbox to select all fields, then click Next. You can exclude fields you don't need, but keep ID fields and names — those are always required.
- (Optional) add filtering, then click Next. Don't filter out required ID fields.
- Set the output options — leave everything at its default except these three: Character Set =
UTF-8, Include Column Headers = checked, and Surround "field values" in Quotes = checked. - Click Save Template, give it a clear name, and click Save as New.
- Repeat for each remaining query (schools, staff, sections, guardians).
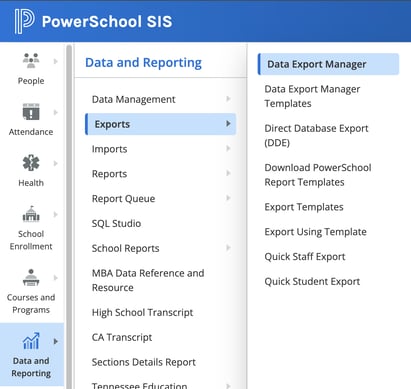 Step 1 — Data and Reporting → Exports → Data Export Manager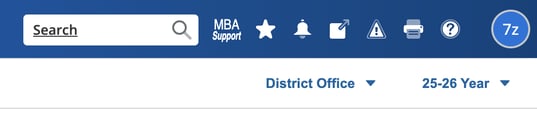
 Step 3 — Category: Additional Data Sets, and an NQ - com.ps_rostering query in Export From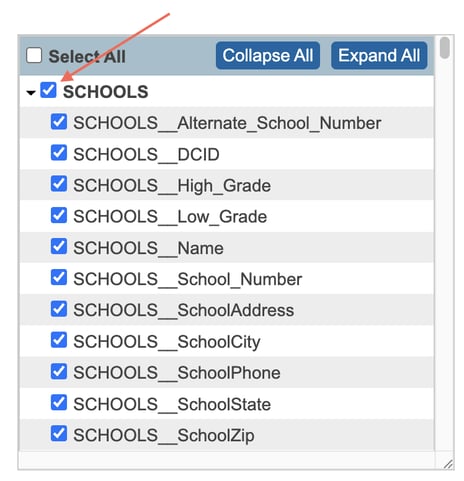
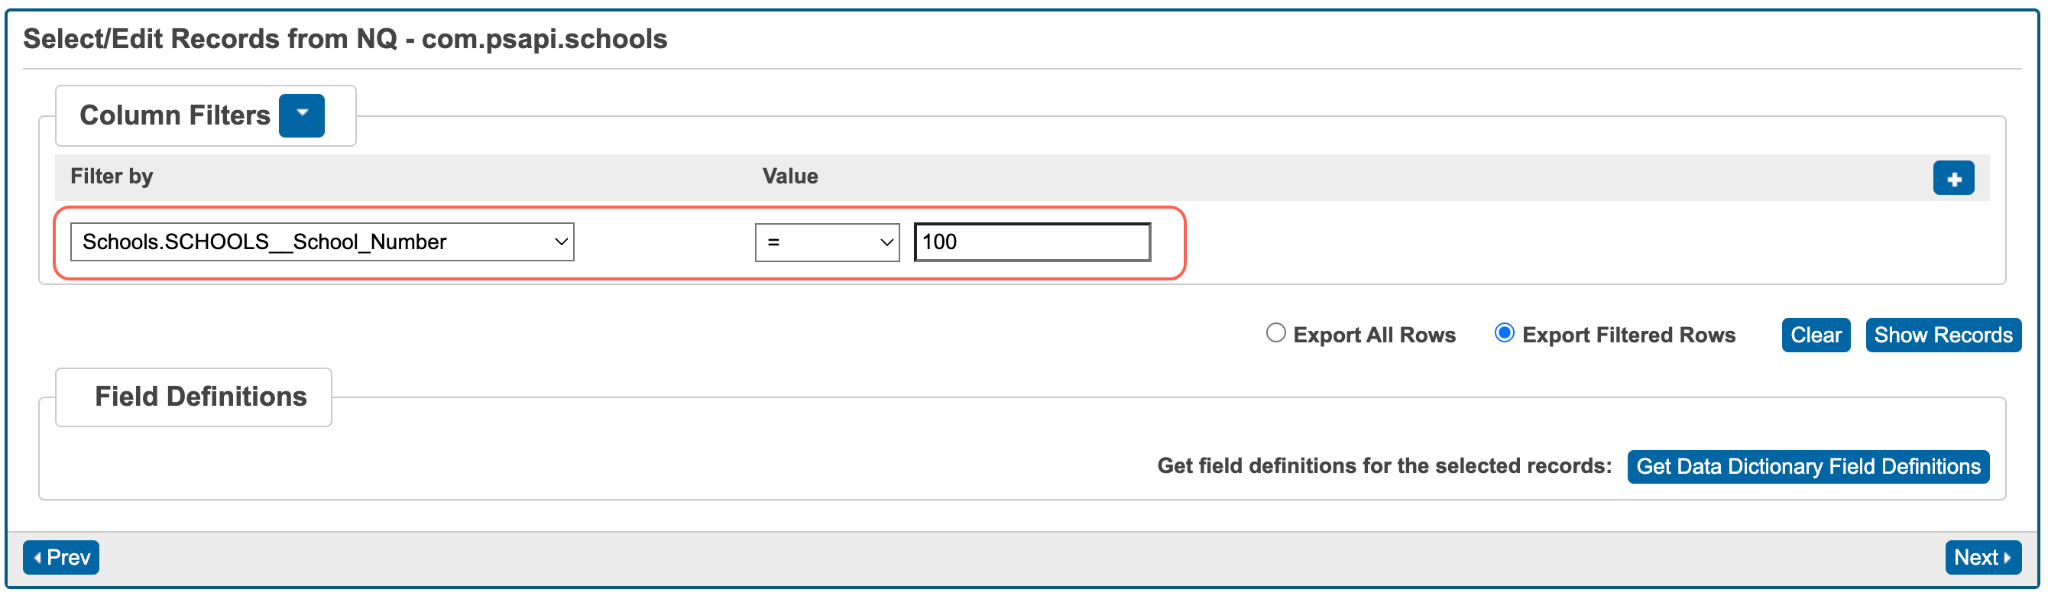 Step 5 — optional column filters; leave required ID fields in place
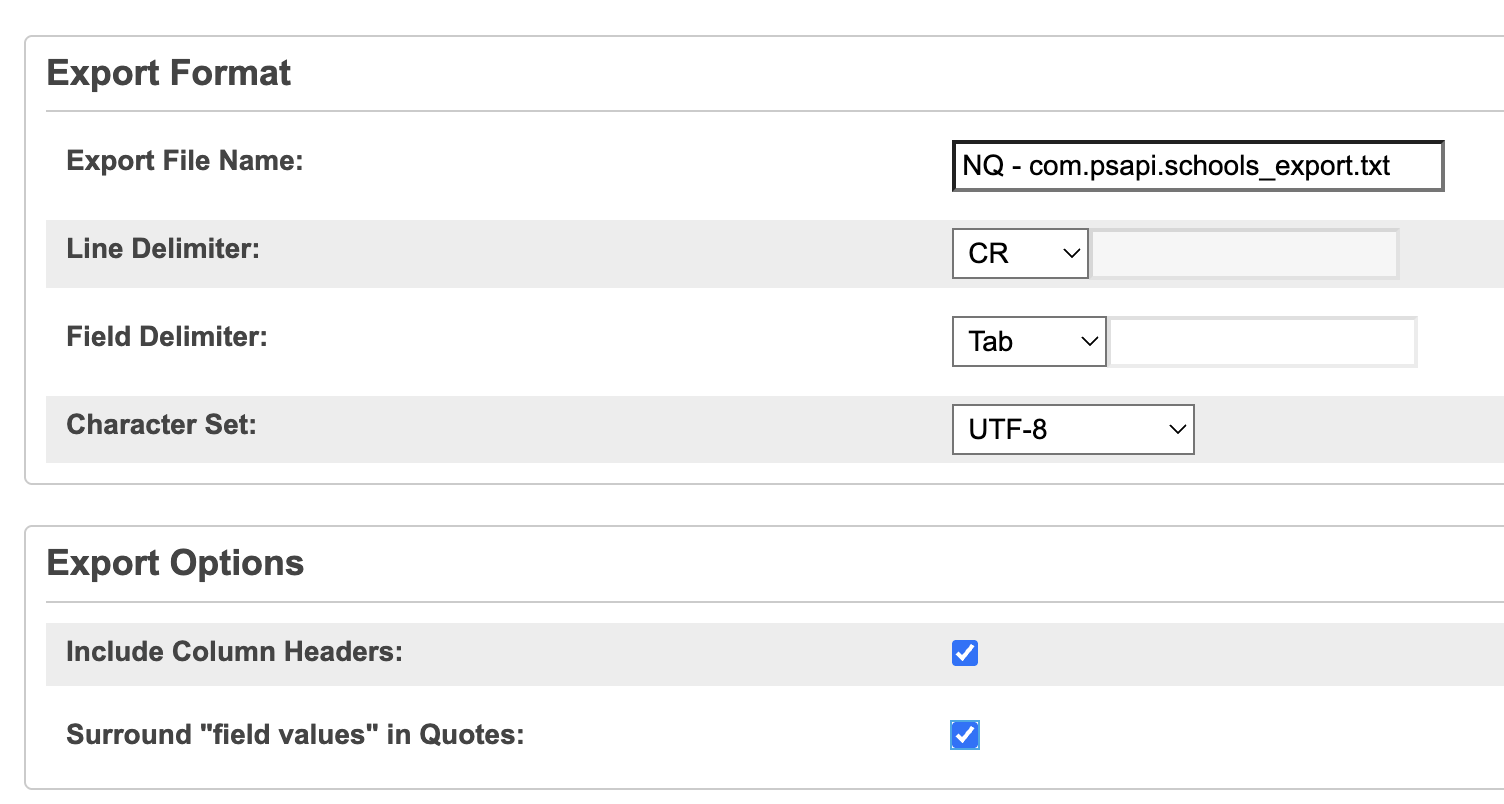 Step 6 — the three required output settings: Character Set UTF-8, Include Column Headers, and Surround field values in Quotes
- Open the My Templates tab and find the templates you just created.
- For each one, click the Schedule icon (the calendar) and fill in the schedule. Set every export to the same nightly time.
- Under Send Output To, select the SFTP connection from section 0.
- Open the Scheduled System Templates tab and click the Play button to send each export once now.
- Refresh the page and confirm the Last Run column shows Completed.
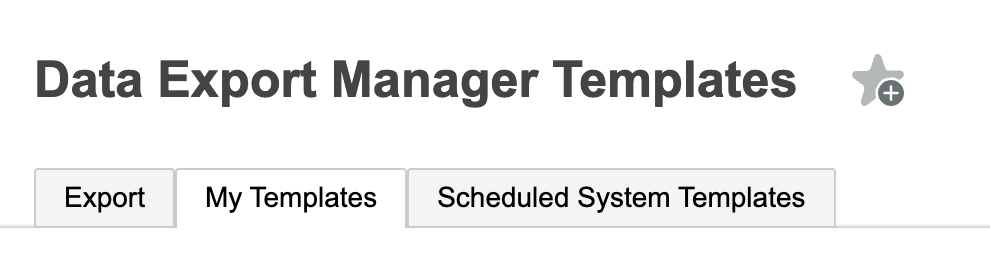 Step 1 — the My Templates tab in Data Export Manager Templates
 Steps 2–3 — your saved NQ templates, each with a Schedule (calendar) icon
 Step 6 — the Last Run column showing Completed
That's it — there's no credential to hand back. Once each scheduled export reads Completed, rostering is running. Your data flows to Derivita on the nightly schedule from here on.
Maintaining the plugin- Update: click the plugin name → Update, and install the newer
.zipwith the same plugin name. If the version number is unchanged, confirm the update anyway. Re-approve data access if prompted. - Remove: disable the plugin first, then delete it. Deleting removes its named queries, and any DEM templates that reference them will stop working.
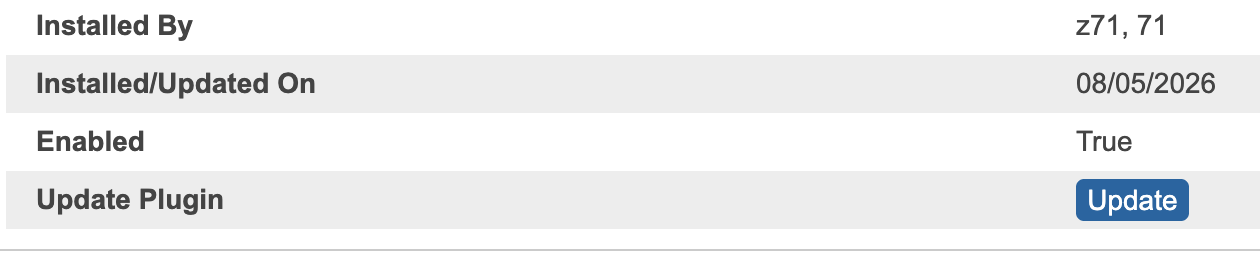 The Update button on the plugin's page in Plugin Configuration
- Roster integrations: ClassLink and PowerSchool — the two paths we support, and what PowerSchool's connection change means for you.